A tiling a pattern of one or more geometric shapes that can be repeated to cover completely an arbitrariliy large 2D area. There are all sorts of set of shapes that can be periodically tiled - they can be quite beautiful and mathematically interesting.
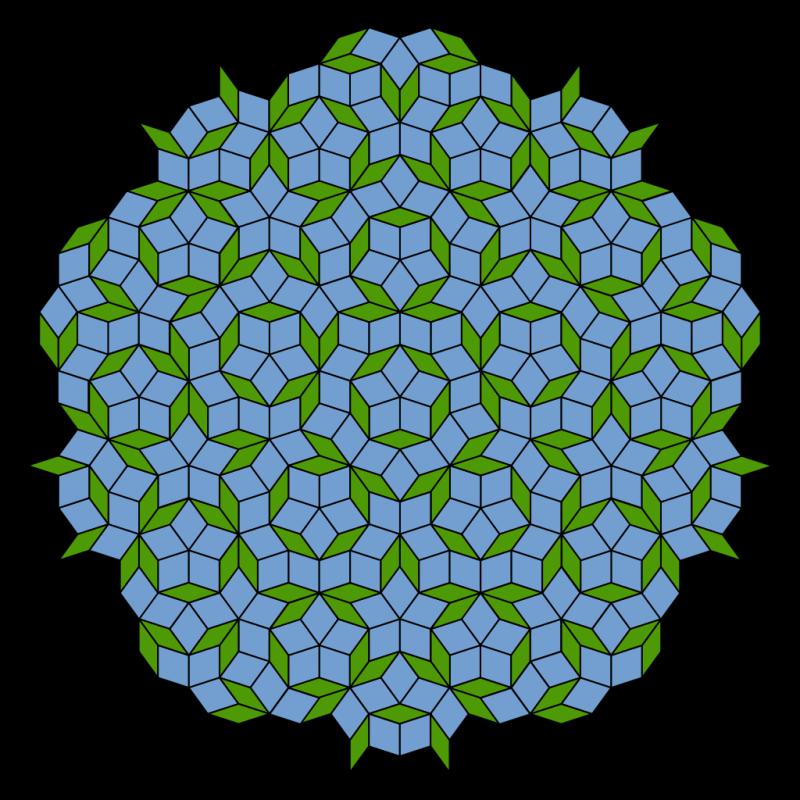
A Penrose tiling, using two different quadrilaterals
There’s an active community of both serious mathematicians and regular laypeople that try to discover new and interesting tilings. You start with a constraint, say your set contains a square and a hexagon, and you try to work out what different patterns can be generated from that set. OK what if instead of squares you have rectangles? And what if the hexagon doesn’t have to be convex? And are you sure you’ve found all the tilings that come from that set? Can you prove it? And so on and so forth - it’s an endless treasure hunt. One hunting ground that has produced really cool patterns is that of pentagons. The wikipedia page on pentagonal tiling is a whopping 3500 words and has all sorts of strange and unexpected patterns. Poking around on this page led me to this paper that found all equilateral convex pentagons that tile the plane. As a little bonus, they discovered one really interesting pentagon, with 5 equal sides of equal lengths and angles of 60, 160, 80, 100, and 140 degrees, that can be used to produce at least two different tilings with a beautiful rotational symmetry. They dubbed it the ‘versatile.’ Rimshot.

One of the 'versatile' tilings. Image by Autopilot - Own work, CC BY-SA 4.0, https://commons.wikimedia.org/w/index.php?curid=59366298
After spending a lifetime on that wiki page I thought those two tilings would make a cool marquetry project and a good use for my stash of veneer. Cutting hundreds of tiles by hand to the precision required to get a good fit would be an awful task, but the CNC laser cutter at site 3 was a great tool for the job.
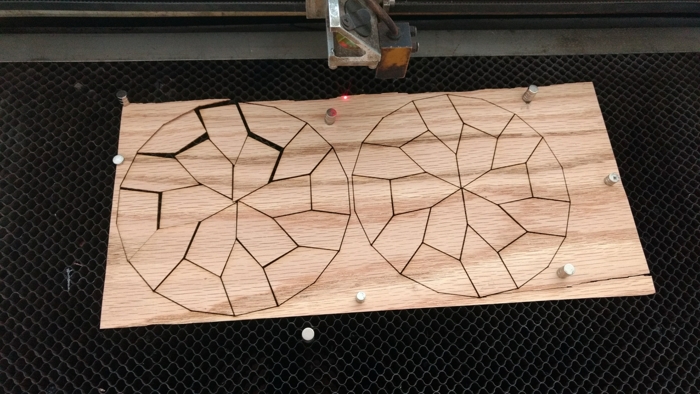
site 3's laser cutting pentagons from veneer
I drew out the overall size and shape that I wanted for the patterns in CAD and picked a coloring scheme - basically for what species of wood would be used for what pentagons. I glued up some panels of leftover poplar (should have used biscuits; they came out kinda wonky) and put them on the laser to mark out the perimeter of the pattern.

The poplar panel with the outline etched in with the laser. At this point I'd already hogged out some of the inner material
Inlay projects look best if the veneer is flush with the main board when all is said and done. You need to remove one veneer-thickness worth of material from the panel to make this happen. For small veneer inlays I’ve used the laser on etch mode to hog out the cavity for the inlay, but this was waaaaay too much wood for that - it would have taken forever and damaged the optics with all that smoke. Instead I removed the material with a router, getting as close to line as I could without going over. The quarter inch bit couldn’t reach into the sharp inner corners, so I finished the job with a chisel in my back-yard. Tedious stuff!
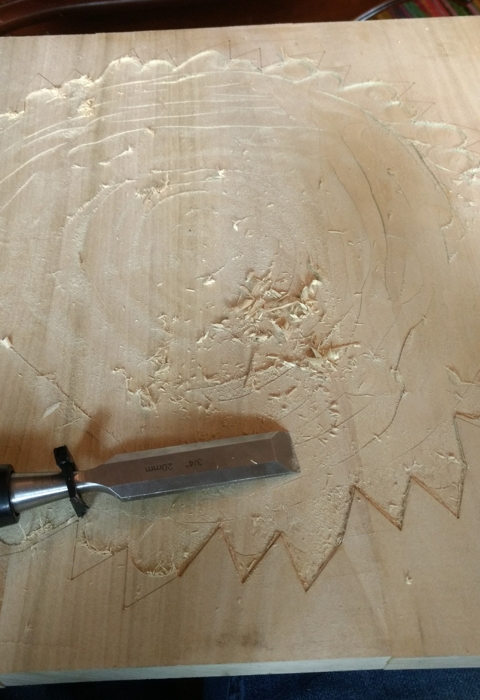
A few of the edges cleaned up with the chisel
After the cavity in the panel was finished it was time for tiling. I did a quick test fit with my lasered out tiles to make sure the kerf of the laser cutter wasn’t too bad, then Anne and I started gluing. We worked our way from the outside in, using the edges of the cavity as a guide. This process wasn’t too smooth - we had issues in a couple areas:
- No real way to apply pressure to the tiles to get a good glue bond (we used some scrap brass plate as a weight)
- Imperfect cutout dimensions - the grain direction relative to the pentagon actually mattered a lot, as the veneer grew and shrunk in that direction in the bag
- A few upside-down tiles had to be chipped out and replaced
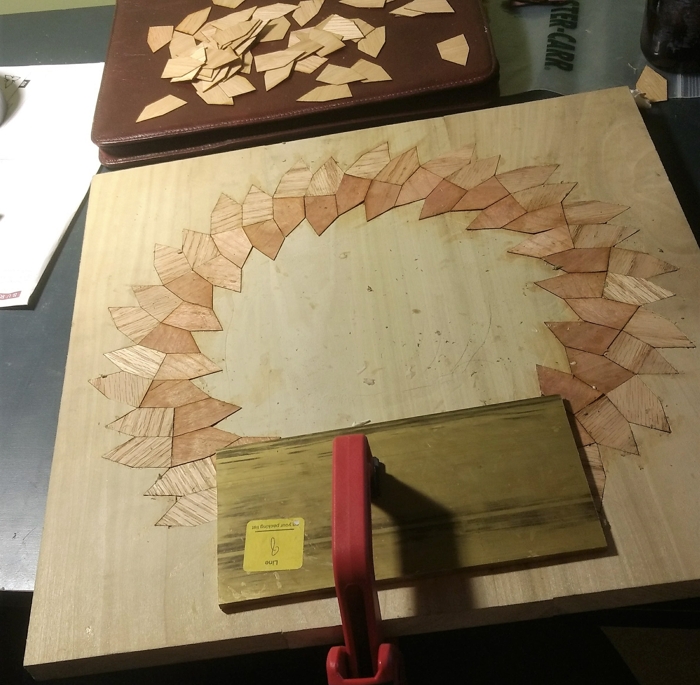
Spiraling in from the edge with individual tiles. The brass plate and clamp were a pretty poor solution to the problem of applying pressure while the glue dried.
As we spiralled in towards the center we had to trim and shim more and more in order to fill gaps, but eventually we got it done, sanded the whole thing down, and from a distance it looked great. I finished it with Danish oil, but wasn’t crazy about how poorly defined the edge of the spiral was against the poplar. The wood tone was just too similar. So I (tediously) masked the tiling with tape and used some white latex paint. This turned out pretty lousy since the wax content in the Danish oil prevented good paint adhesion.
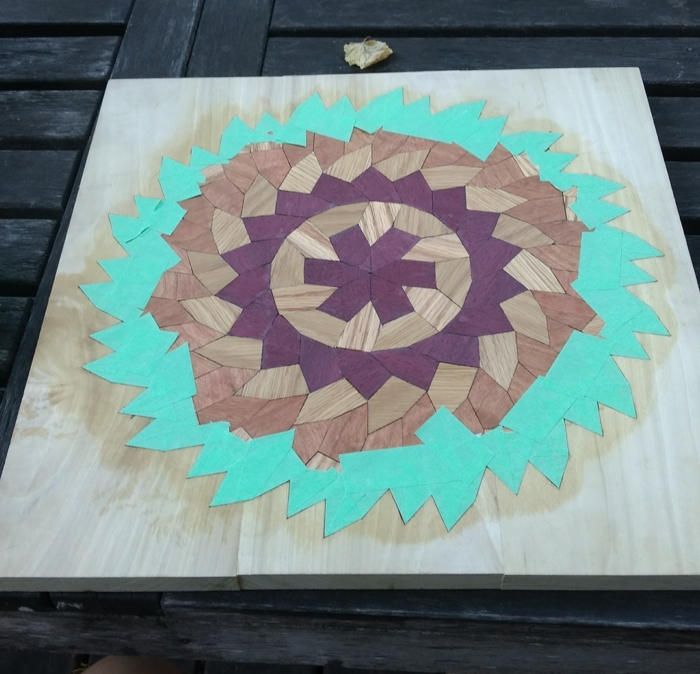
A very time consuming masking job was needed to protect the edge of the pattern in preparation for painting. You can see here that near the edge of the pattern some danish oil got onto the poplar backboard - this caused really poor paint adhesion
With the lessons learned from the first go round I repeated the process for the second tiling. This time I masked the tiling and painted before removing the paint and oiling the inside. The oil doesn’t really leave a visible mark on the latex paint; you can more or less just wipe it off. I like the pattern on the second tiling less than the first, but it is certainly better made.
To end the project I made a simple frame from red oak, also finished with danish oil. I kinda like the wood frame -> paint backboard-> wood tiling color scheme.
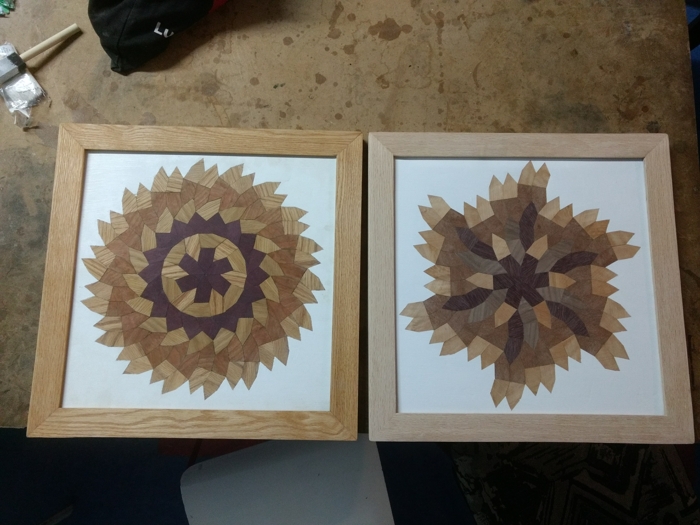
The two tilings side by side, number 2 still waiting for its danish oil. Look close and you can see the superior paint job on the second one
Materials:
- Veneer (oak, walnut, bloodwood, purpleheart, and some other unidentifiable stuff) (~$5 worth, A&M wood in Cambridge)
- Scrap poplar for the backing board (~$20?)
- White paint
- Danish oil
- Red oak (for the picture frame) (~$20)
- Wood glue
Design files:
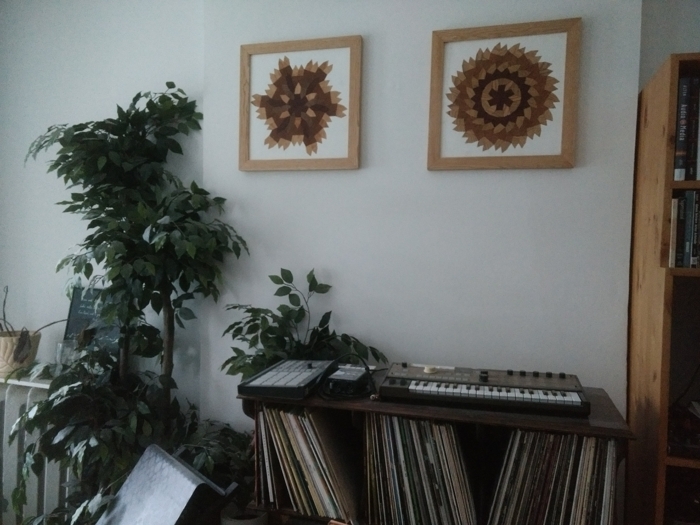
Hanging in the culture room at home