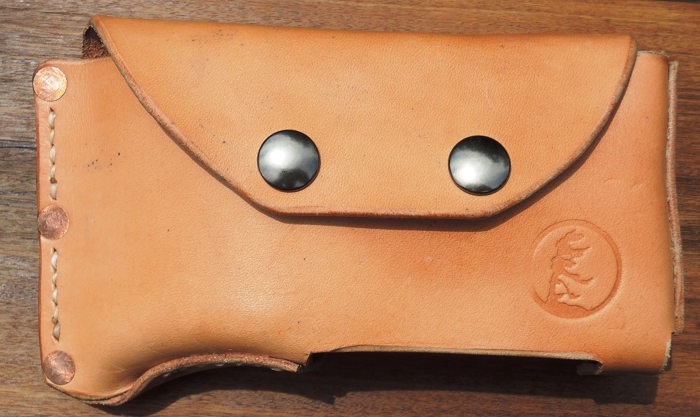
Finished picture first
My friend Eric brought a nice Fiskar hatchet on a canoe trip. It’s a beautiful tool, but it has a monstrously ugly plastic sheath, so I offered to make him a new one.
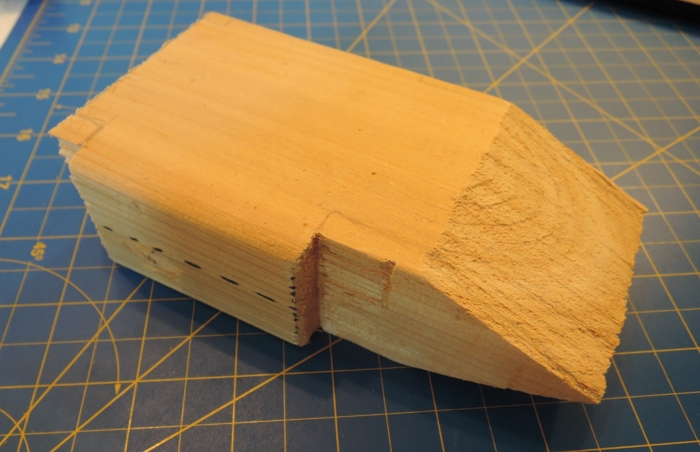
Placeholder axe-head
Eric unfortunately lives in Deep River, so I didn’t have access to the hatchet. I had him take some dimensions then roughed out a 1:1 model in a block of wood. Whenever you’re doing 3D leatherwork it’s very very helpful to have forms to work around.
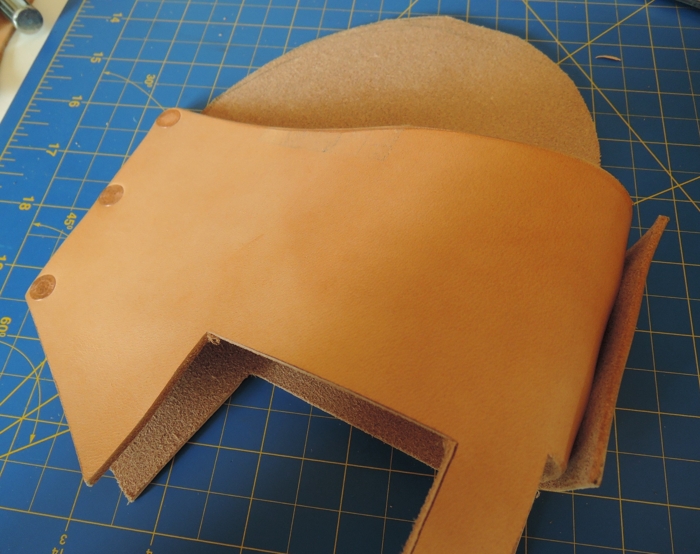
Two part assembly riveted together at the front and back
I devised an approximate pattern and cut out the pieces too-large in case I needed to trim later on. Once these rivets were in place I could shove the wood block inside and figure out what my dimensions really needed to be.
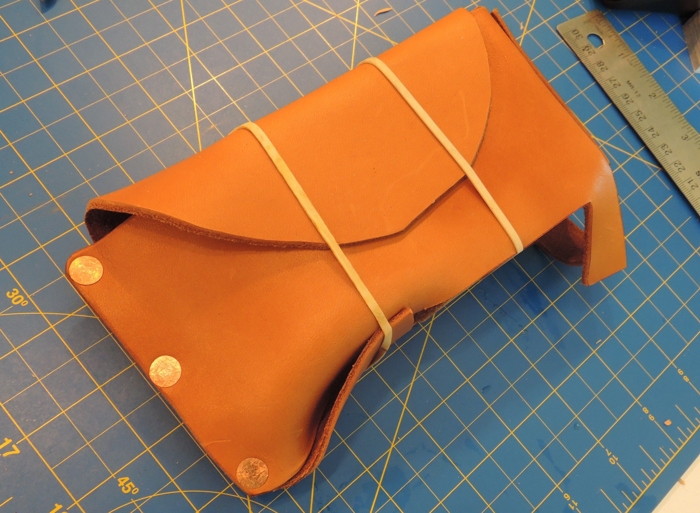
Sheath containing the block, waiting to dry
I soaked the two pieces in water, stuck the block in, then folded the flaps into their desired position. Wet leather is extremely floppy, but will stiffen up as it dries and holds its previous position. A great material for molding.
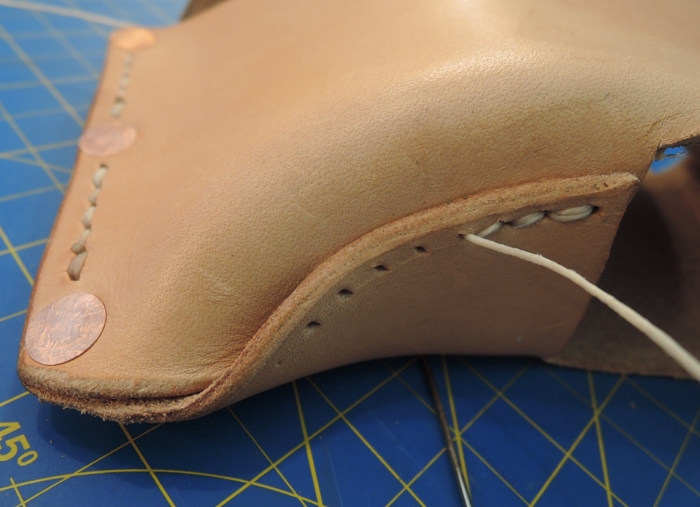
Sewing the bottom flap. This would later be reinforced by a rivet
I did a bit of sewing in conjunction with the rivets. This both increases the strength of the attachment and prevents any bits from flapping about annoyingly.
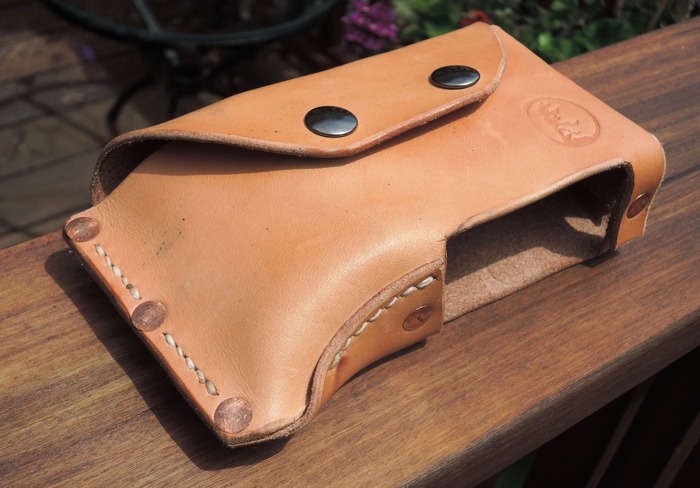
Shot of the finished product from another angle
All that remained was installing the closure snaps, stamping with my mark, and oiling it up with some Neatsfoot. It turns out that projects come together really quickly when you don’t need a million miles of stitching!
Details:
- Thread: 0.035" Maine Waxed Cord in Natural
- Closure: Tandy Line 24 Snaps
- Leather: Herman Oak 5-6 oz veg tan
- Rivets: Tandy copper rivets