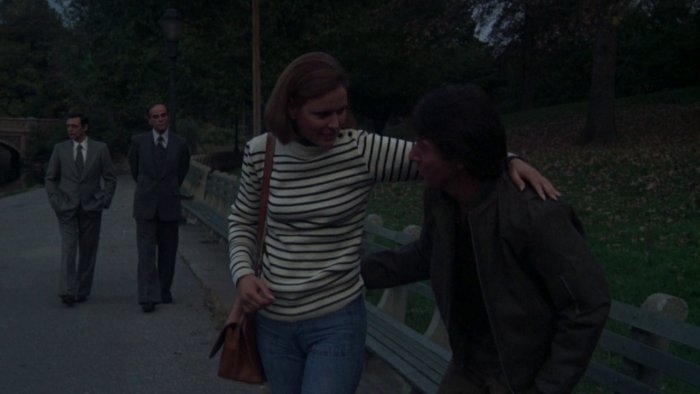
This was my largest project to date. My cousin requested a lined shoulder bag but was looking for something larger than the messenger bag I made for my sister. Starting from scratch is a difficult thing - most of my other projects are closely based off of existing designs if not direct ripoffs. A good starting point came from watching the movie Marathon Man, where the love interest has a very nice bag that seemed to meet my cousin’s needs.
Is it safe?
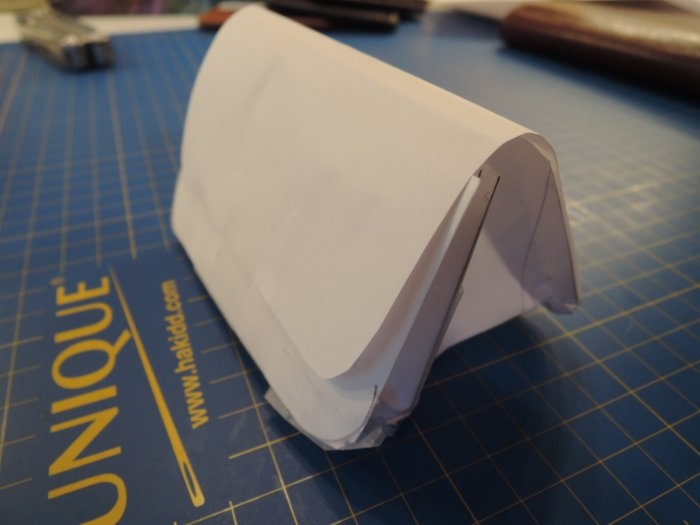
I ended up dramatically decreasing the depth of the main compartment. It's pretty clear that it is too large here
The construction process was laborious, as expected. Most of the design choices were made as I went along (not the best approach!), particularly with respect to the closure and the strap. I decided to make the closure with a strap and a metal keep, as seen in the Nigel Armitage messenger bag demonstration. I later regretted this decision as the leather to which the keep was attached wouldn’t stay straight at rest - it tended to buckle inwards, making it rather difficult to fold the flap over top of the keep. Closing the bag is pretty much always a two handed operation. So, for next time I won’t adopt this closure unless the front piece is considerably smaller and less prone to buckling.
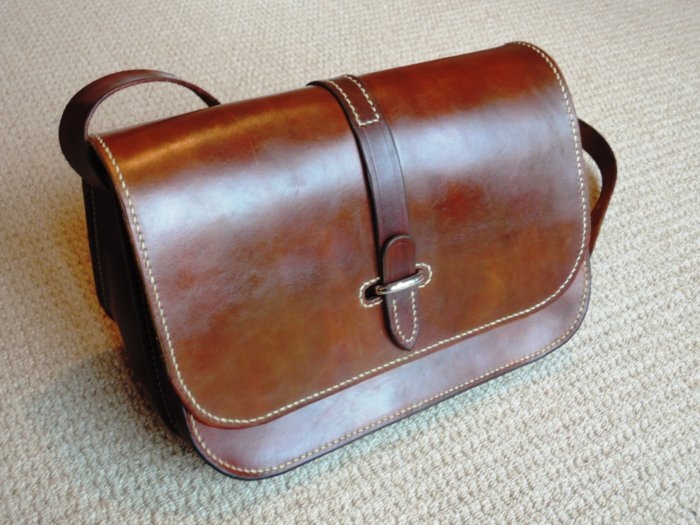
The finished bag
Side view. The strap is attached permanently with a line of stitching and a single copper rivet
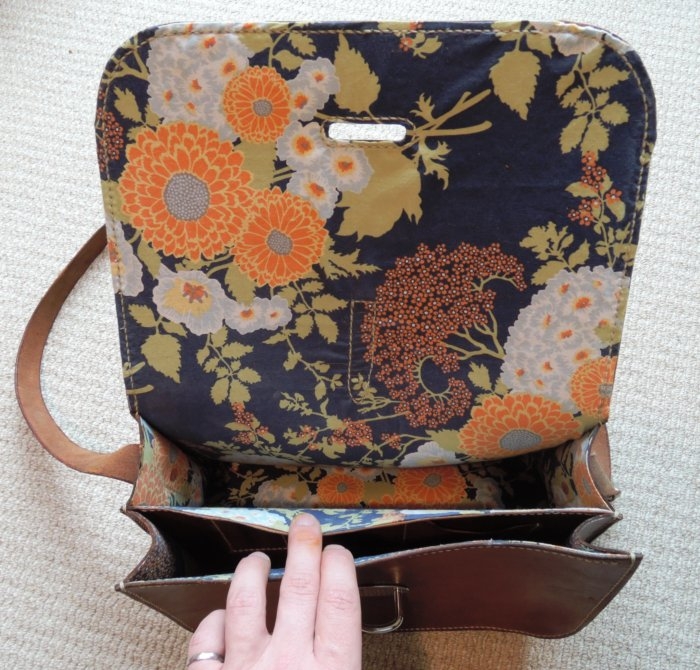
The entire inside of the bag is lined with a fabric of my cousin's selection. The fabric is folded over at the leather's edge to make for a nice appearance.
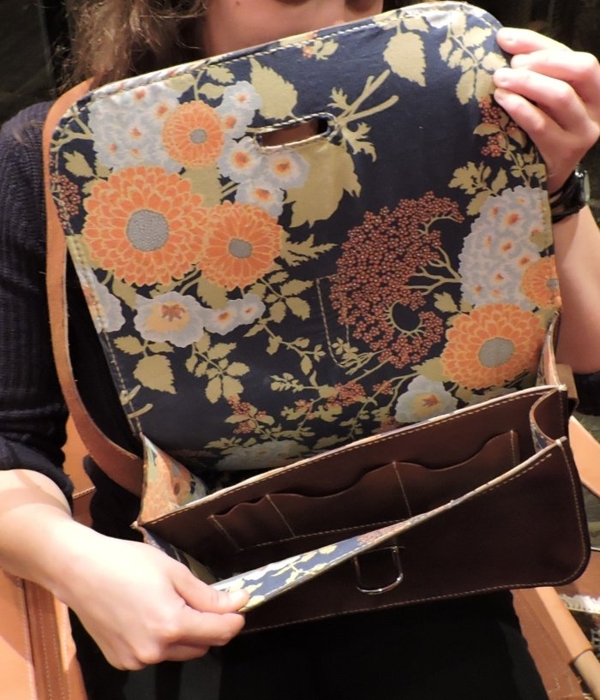
The divider (made of 2oz low grade Tandy leather) has a few pockets for pens and electronics.
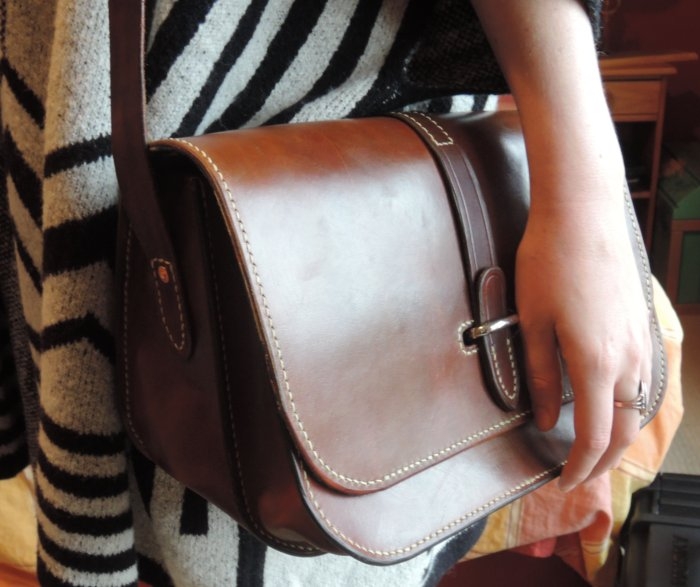
I’m pretty pleased with how it turned out, despite a few imperfections in the leather and the occasional bit of wonky stitching. It has certainly encouraged me to take on making a briefcase for myself.
Leather:
- Herman Oak 5-6 oz veg tan (front, back, and strap)
- Herman Oak 3-4 oz veg tan (both gussets)
- Crap grade Tandy 2-3oz veg-tan (divider, interior pockets)
Details:
- Thread: 0.035" Maine Waxed Cord in Tan
- Dye: Fiebing’s light brown
- Closure: Strap and strap loop
- Lining: Cotton. The pattern is here
Approximate bill of materials:
- Leather - ~5 sqft at an average cost of $12/sqft = $60
- Strap buckle = $3
- Dye - maybe half a bottle at $7/bottle = $4
- Strap loop for closure = $4
- Lining - 1/2 yard at $11/yard = $6
The total cost of the project was ~$75