I made a set of shelves for the Site 3 hot room to boost my cosmic shop karma score.
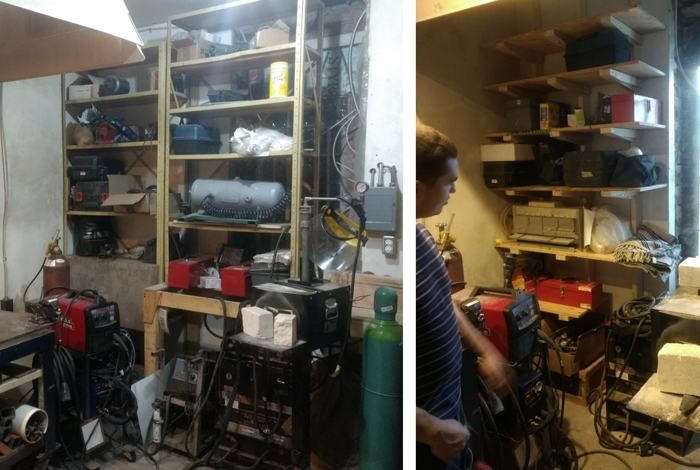
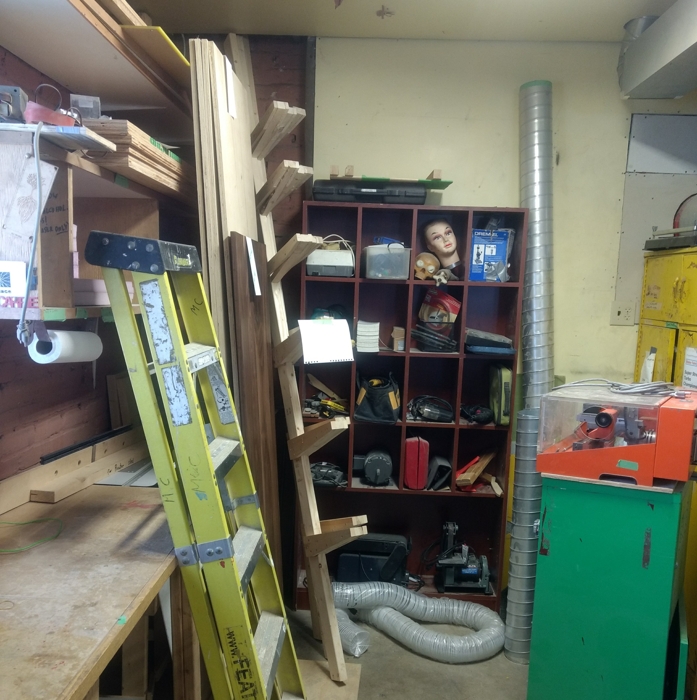
Left: Before. Right: After
The hot room is easily the dingiest part of the shop, though that’s not for lack of use. While there was a general consensus that the room’s current layout was far from optimal there wasn’t much consensus as to what specifically should be done about it - an unfortunate downside to Site 3’s anarchic management style. I thought I would start with replacing the corner shelves, which were falling apart and inarguably in need of replacement.
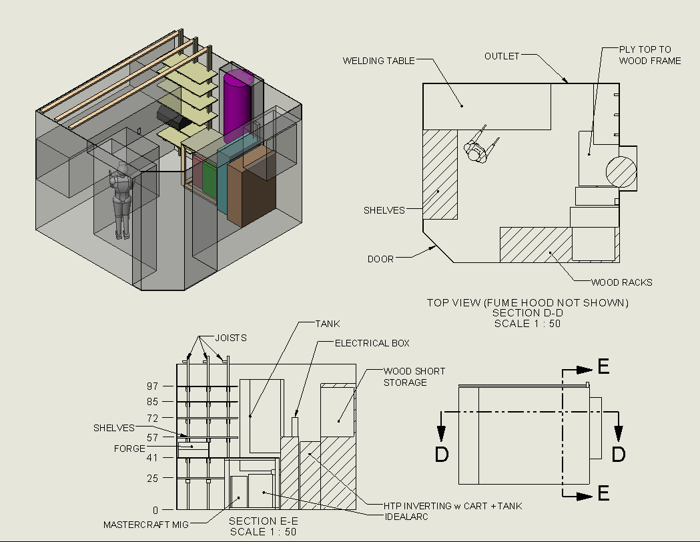
A quick and dirty Solidworks model of the hotroom and the proposed shelf locations (in the back-right corner of the iso view) based on an hour with a tape measurer
The existing shelves were freestanding, with shelves spaced pretty close together. They didn’t meet our needs all that well since most hot room gear is quite bulky and heavy - forges, metal stock, spot welders, etc. So I wanted the replacement shelves to be a) cantilevered, for better access, and b) robust enough to not fall apart under heavy load. Oh yeah, c) cheap. Canadian engineer and popular Youtube woodworker Matthias Wandel has a great and simple design that ticks all those boxes.

Matthias testing robustness. Image: Matthias Wandel, woodgears.ca
These shelves basically consist of a vertical 2x4 attached to the wall by its skinny side with cantilevered braces for the shelves sticking out. These braces are glued and screwed onto the sides of the vertical member, forming a sandwich. Gluing to the side of the upright gives a lot of surface area loaded in shear mode, producing a much much stronger joint than if you were to attempt to fasten the braces on the vertical member’s front face (assuming you’re not using mortise and tenons or other valid joinery techniques). For an excellent breakdown of why the loading mode of adhesives matters a LOT, see this Dan Gelbart video Getting back to the shelves, Matthias’ article, linked above, has recommended dimensions to which I more or less conformed.
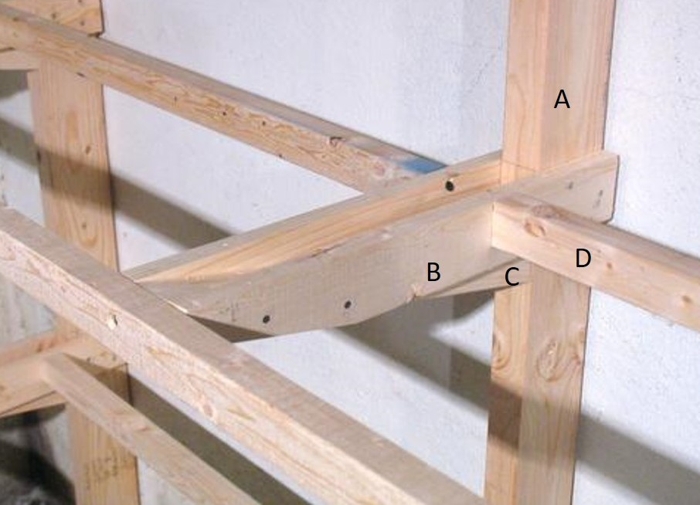
A brace is formed with the main vertical 2x4 (A), a brace on either side of the 2x4 (B) and an option 3rd piece occupying the space between the braces (C) and lateral runners if you're using thin ply (D). Image: Matthias Wandel, woodgears.ca
I made a bunch of brace assemblies (just 2x part B glued up to 1x part C) out of resawed 2x4s salvaged from a surprisingly decent pallet that got dropped off at work. Can’t beat free. Well, OK, the wood was rubbish and a few pieces split during install - hopefully that doesn’t bite me in the butt.
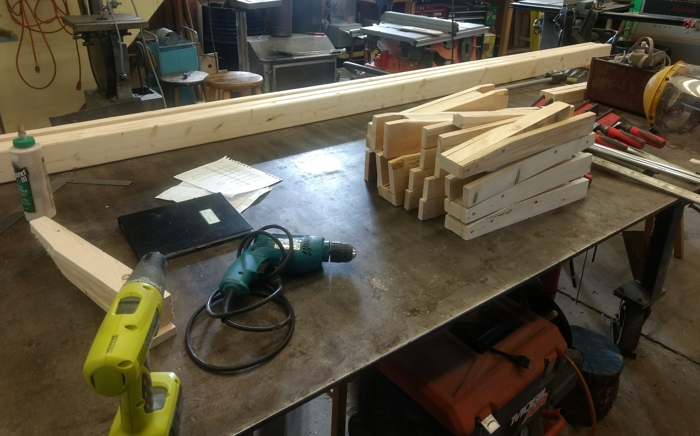
A pile of braces ready to be attached to the 10 foot 2x4s on the table behind them
Once the brace assemblies were made up and the heights for the shelves were decided, I glued and screwed the braces onto 10’ 2x4s, making 3 identical assemblies. Around this time I also roughed out the plywood that was to become the shelves, some rough-grade 0.75" ply (I probably could have got away with 0.5" in hindsight)
Buncha sticks ready to carry some weight
Now these shelves are meant to attach to the building by screwing the vertical 2x4s into the studs in the wall. Because, you know, houses have studs, right? Well, not Site 3, which seems to be constructed from drywall and air and nonsense. After poking around for a while the only reasonable load-bearing points were a) the ground, and b) ceiling joists. So with the help of other Site 3 members at a Clean Up Day, we cut holes in the roof and, while resting the foot of the vertical member on the ground, screwed the top into the joists. The floor provides most of the load support while the joist prevents the whole thing from keeling over forwards or backwards. Plywood had relief slots cut in them for the vertical members and were just dropped loose on top, held in place with a couple finishing nails - no need to complicate disassembly when the time comes. And that’s it, a shelving solution was in place.
Costed BOM:
- 2x 4’X8’x0.75" ply, of which probably 75% was used: $89
- 3x 10’ 2x4 for vertical memebers: $16
- Scrap 2x4 for cantilevered braces: Free
- Wood screws $8
- Some wood glue ~$5
In total the project cost a lot more than I expected, almost entirely due to the plywood cost. There are probably some alternate materials that I could have used to save a few bucks. Still, I expect I’ll use this basic design pattern again in the future.